
| Written by Paul D. Race for FamilyChristmasOnline.com |
| Written by Paul D. Race for FamilyChristmasOnline.com |
|
|
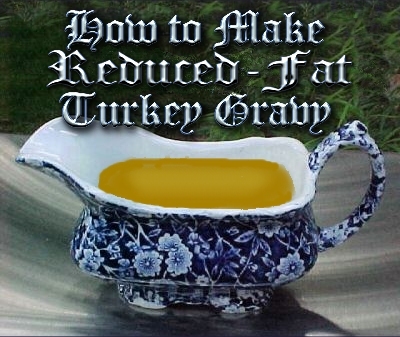
How to Make Reduced-Fat Turkey Gravy - from Family Christmas OnlineTMMost folks assume that gravy is full of fat - in fact, most store-bought and restaurant gravies are. But gravy doesn't have to have any fat in it to taste good. So why do companies and restaurants make fatty gravy? Because it's fast, and once the gravy has thickened, you can't tell how much fat has been cooked into it. That said, with a little bit of extra effort, you can make a gravy that has very little fat but still has just as much flavor.I had been making turkey gravy this way for years - it just made sense to separate the fat out of the broth before I made gravy. Then I heard Richard Simmons explain this on a television program exactly the same way. Okay, then. The only problem with this method is that for the best, lowest-fat results, you need time to chill the broth before you start the gravy. That means that if you don't get your broth before the turkey is officially done, you'll have to make compromises. But it will still be healthier than gravy that uses pan drippings or store-bought "stock" in cans. For this recipe you'll need:
An equal amount of low-fat milk (you can use 3% but 1% will taste just as good) Flour or cornstarch. (One expert says to use 2 Tablespoons of flour, or 1 Tablespoon of cornstarch, per cup of liquid.) Salt and pepper (pepper is optional, salt is not, really) If you want to have chicken bouillon on hand in case of emergency, that's fine, too. You should also have:
Getting All the Right BrothYou will need a cup or two (preferably 2) of turkey broth to make the best gravy. In the best case, you are able to retrieve the broth by 40 minutes before the turkey is done, but that's not always possible.I try to get access to the turkey broth about 30 minutes before the turkey is supposed to be done. (the timing depends in part on the kind of cooking vessel you use. See our article on How to Roast a Turkey for more information about that.) I ladle or pour broth into a clear Pyrex 2-cup measuring cup. I like this because you can see when the broth has settled and/or gelled. But if you don't have a see-through container, that's okay, too. If I have time, I put the broth into the freezer. What happens next depends on how much time I have.
Mixing it UpNow, getting the gravy to thicken is as much about chemistry as anything else. You will use the ingredients, cooked until boiling to create something that's not exactly solid and not exactly liquid. (Your high school chemistry teacher would use terms like "reversible colloid.") If the broth has had a chance to gel, the job is easier, but that's not mandatory.Please read the following directions through carefully before you start, so you have a good idea of what to do next before you are trying to do two things at once.
Gravy for TomorrowHere's an interesting after-note: nearly any gravy you make this way and refrigerate after the meal will set up once it chills, even if it didn't thicken when it was hot - so it it will be fine tomorrow. Also, after dinner, you should try to rescue and chill any more broth. You should be able to add up to 50% as much "new" broth as you have yesterday's gravy, without having to make your gravy over again. You will want to heat it to boiling again, though. When you re-heat the gravy, add the chilled broth right into the mix (it will look like you're tossing in light-brown chunks of Jell-O, but they'll soon melt). This will "stretch" your gravy and improve the flavor. It will usually thicken properly, too, unless you are adding too much new broth. You will need to add salt, too. If you wind up with too much gravy and no potatoes for the next day, consider making a turkey casserole. Spread a thin layer of gravy on the bottom of a rectangular glass pan, add a layer of dressing, then a layer of turkey cut into bite-sized pieces. Spoon the gravy over the top, covering at least the turkey, if not the dressing. Hope this gives you some ideas and helps your holiday gathering to be the best ever. Please let us know if you have any feedback suggestions, additions, or corrections. Happy Holidays, Paul Race Hotlines and Other Resources for Turkey CoookingThanks to the North Carolina Department of Health, who compiled most of this list.
To return to the Family Christmas Recipes page, click here. To return to the Family Christmas OnlineTM Home Page, click here. |
  |
Note: Family Christmas OnlineTM is a trademark of Breakthrough Communications(tm) (www.btcomm.com).
All information, data, text, and illustrations on this web site are
Copyright (c) 2006, 2007 by Paul D. Race.
Reuse or republication without prior written permission is specifically
forbidden.
Family Christmas Online(tm) is a participant in the Amazon Services LLC Associates Program, an affiliate advertising program designed to provide a means for sites to earn advertising fees by advertising and linking to amazon.com.
For more information, please contact us